Workshops have their essentials: work bench, table saw, power drill, but there’s one tool I’ve been wanting to add for some time: a wall-mounted bottle opener. Sure, I could just use the opener in the kitchen drawer, but there’s just something satisfying about cracking open a cold one with one hand. With a little work, hardware off of Amazon, and some tricks I’ve learned along the way, here’s how you can make your own wall-mount bottle opener.
What You’ll Need
For this project you’ll need the following:
- Unfinished, untreated, sanded wood. I recommend a lighter wood like pine to help your design show through
- Disposable foam brushes
- 400 grit sandpaper
- Some type of finish to seal and protect your wood. I really like Poly Whey Furniture Finish
- If you wold like to add the vintage wood look to your opener, follow the instructions on my post about oxidizing wood.
- If you would like put a graphic on the wood plank, follow the instructions on my post about printing on wood.
- Bottle opener and cap catcher
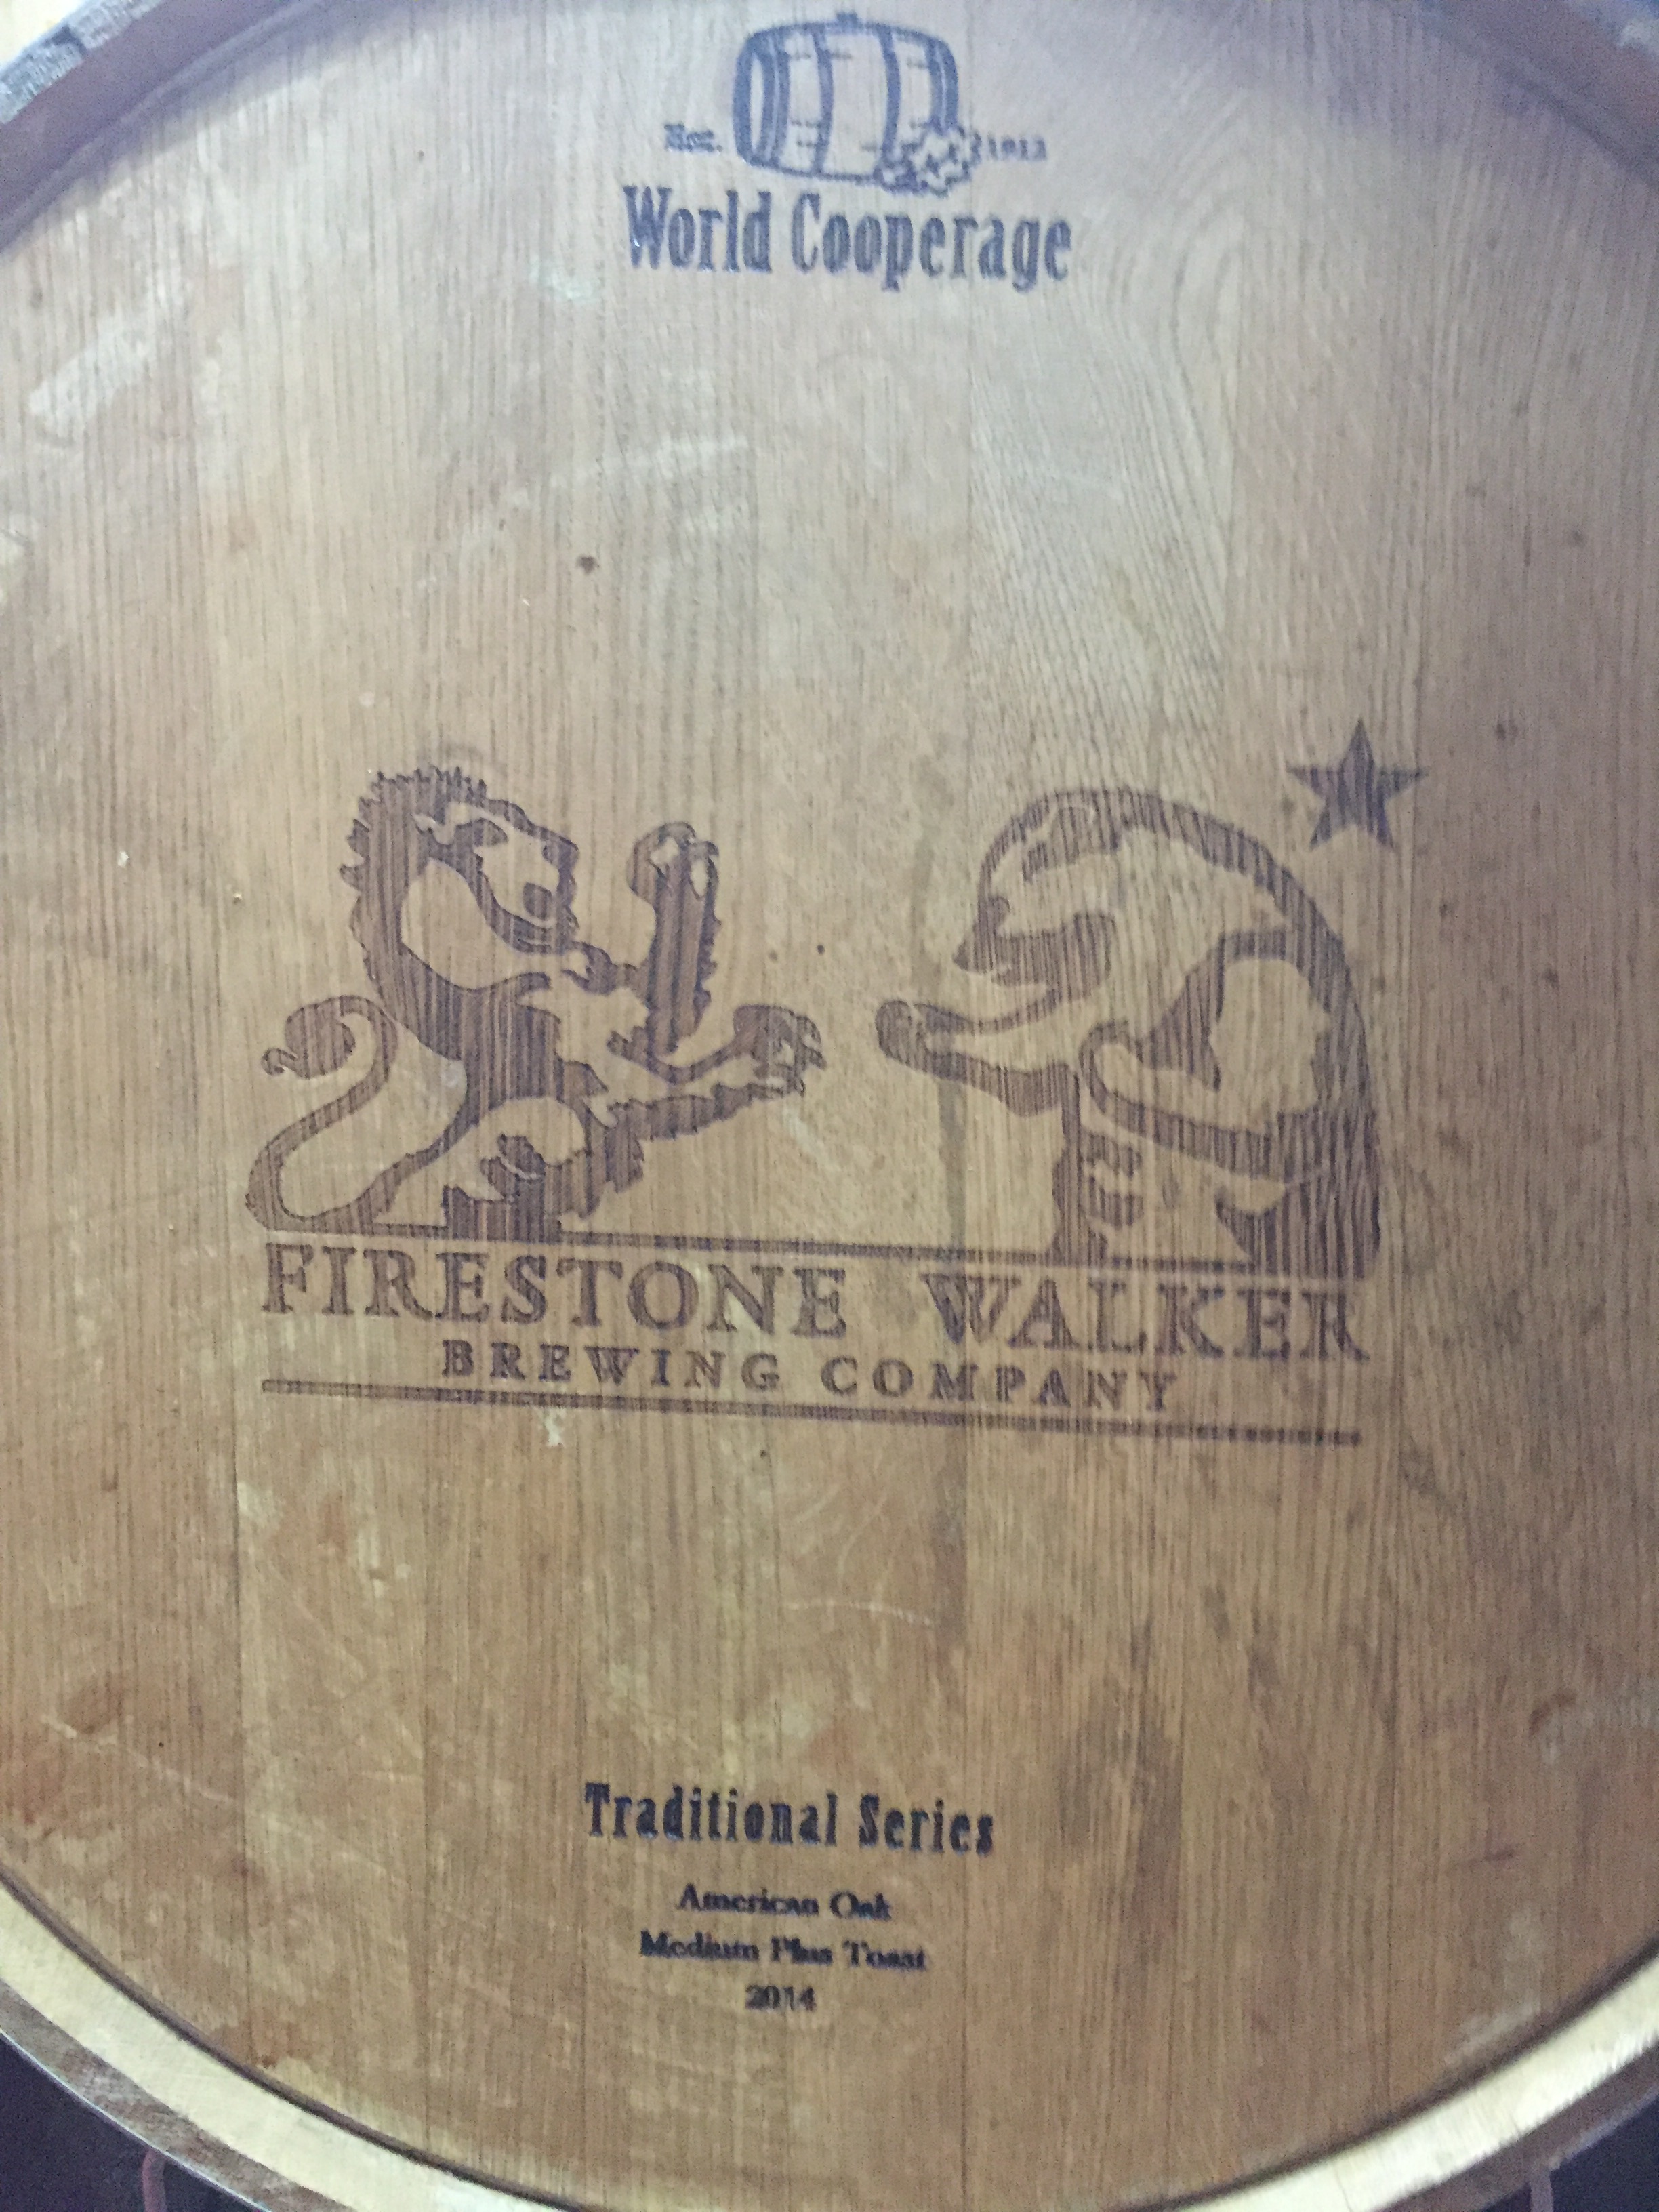
For this design, my concept was to make the opener feel like it came from an old wood barrel plank which had the brewery’s logo stamped on. Below is a photo I took while visiting the Firestone Brewery in Paso Robles, California. This was my inspiration.
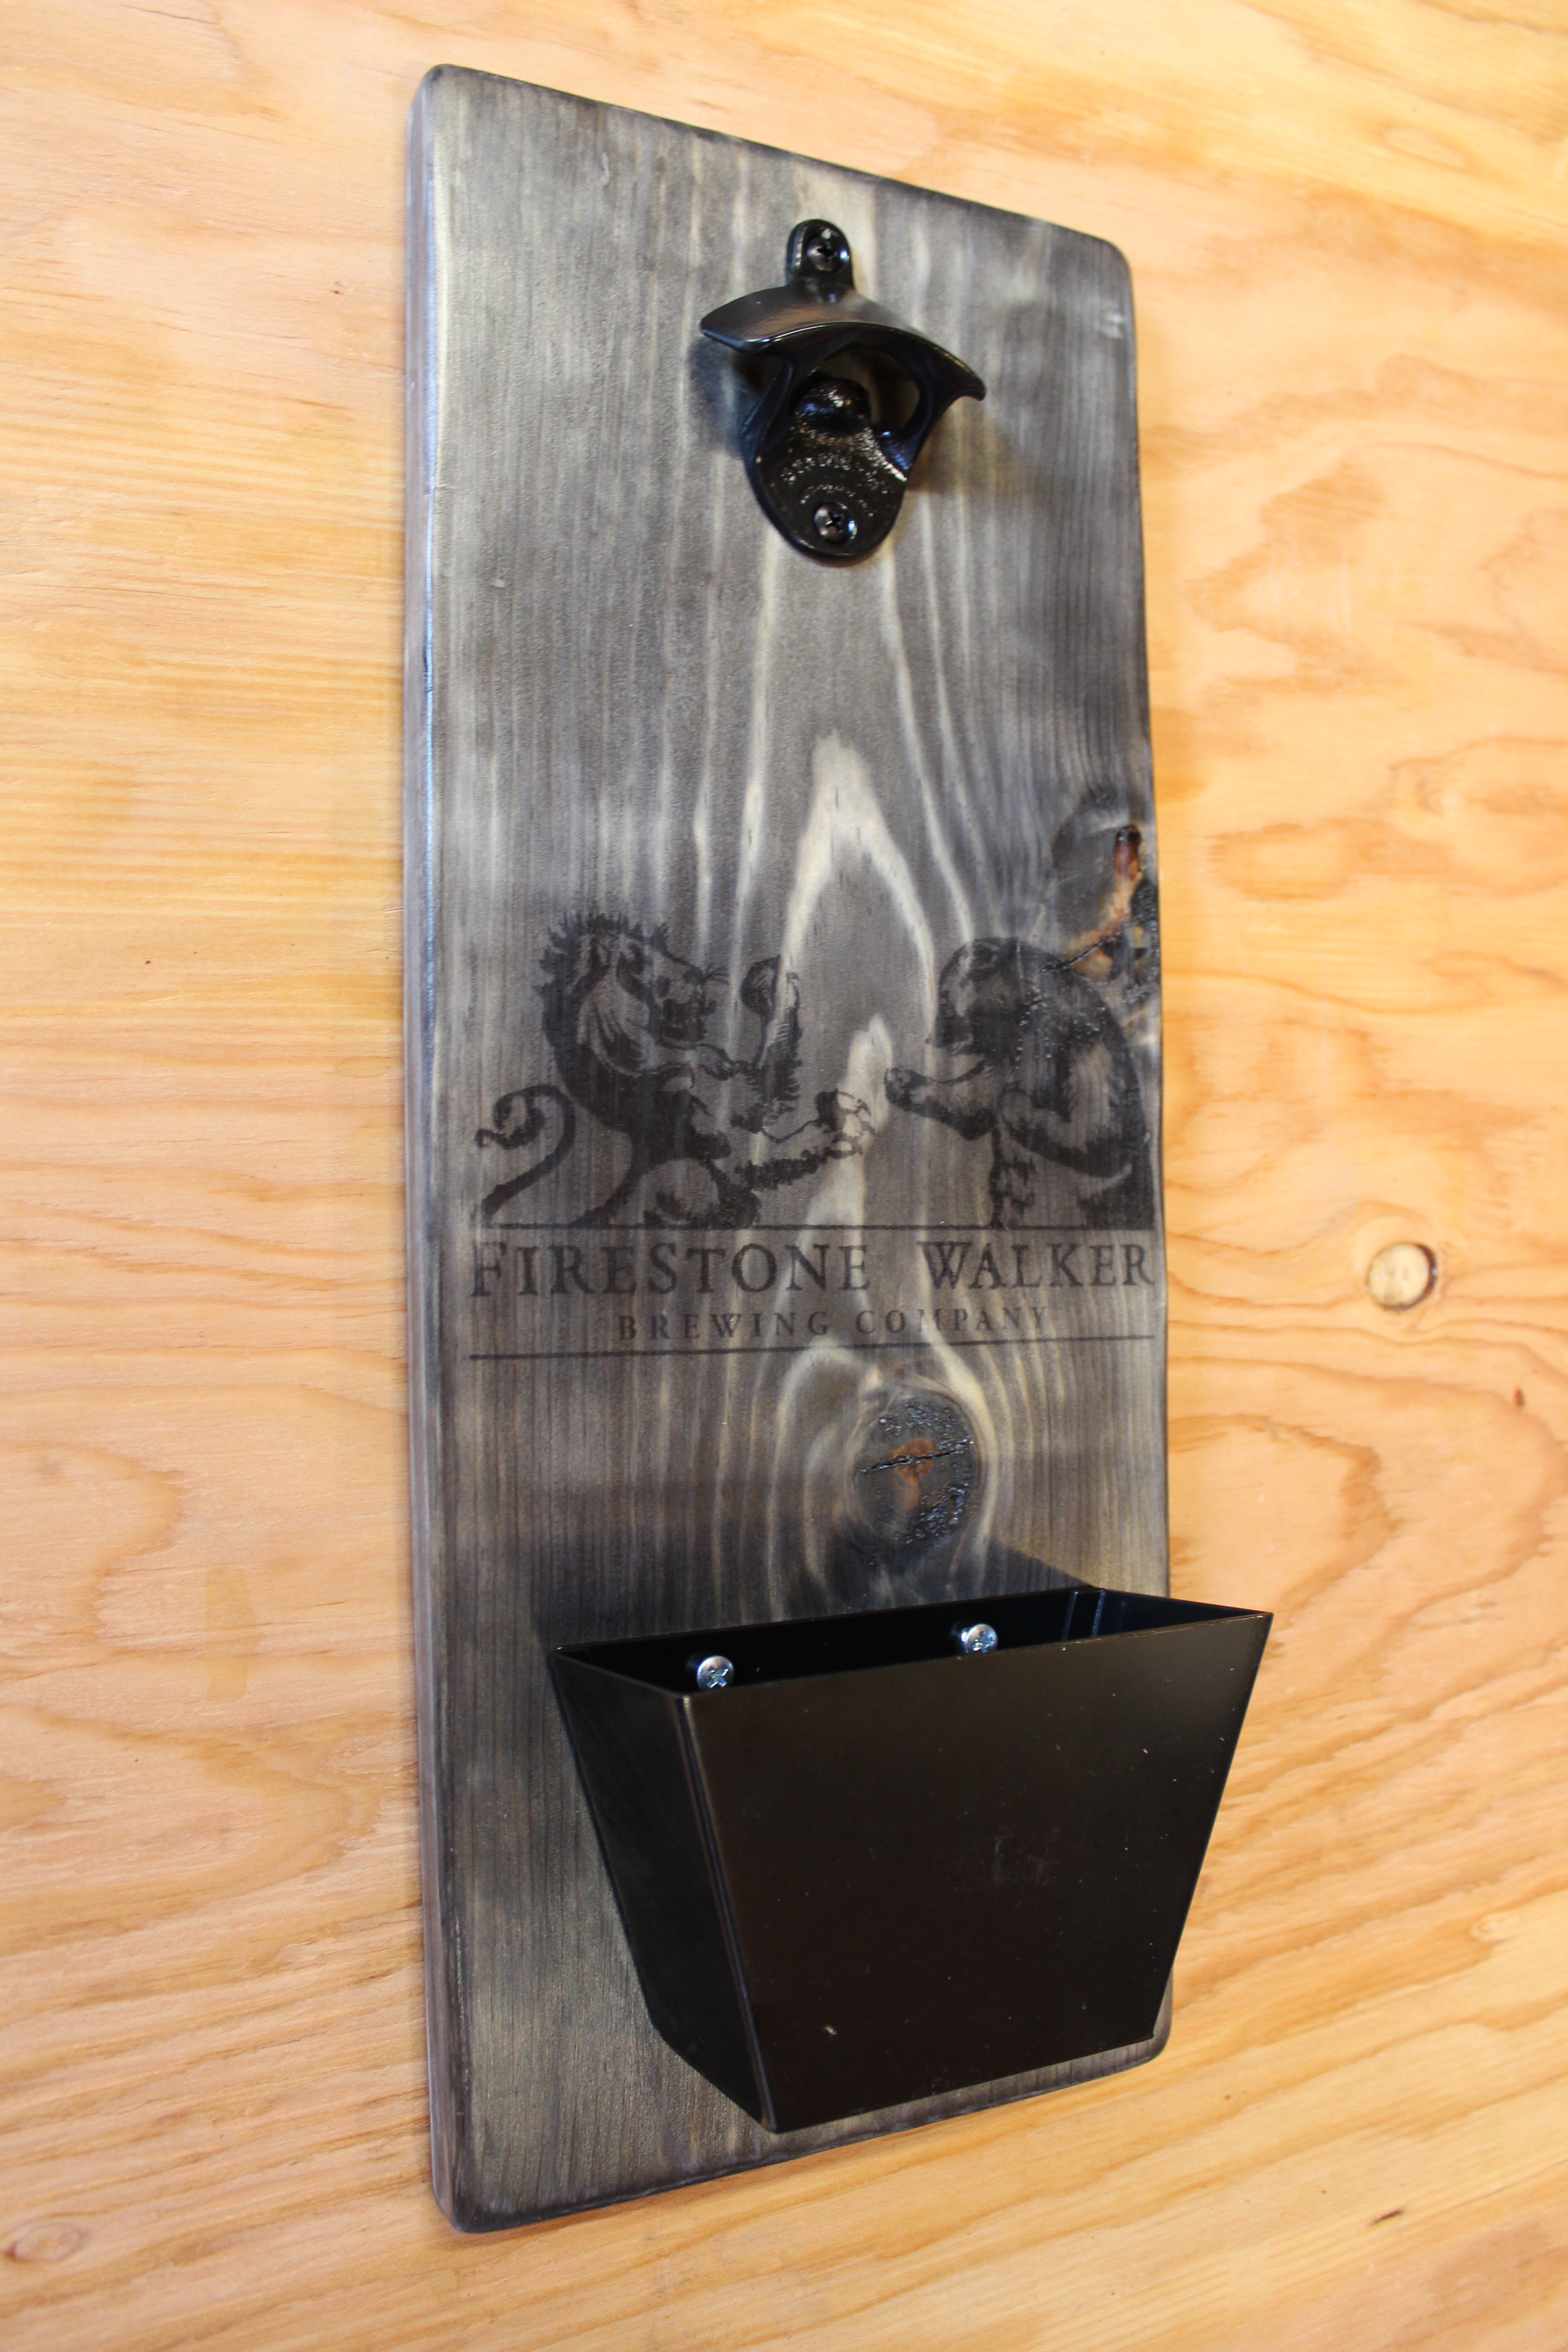
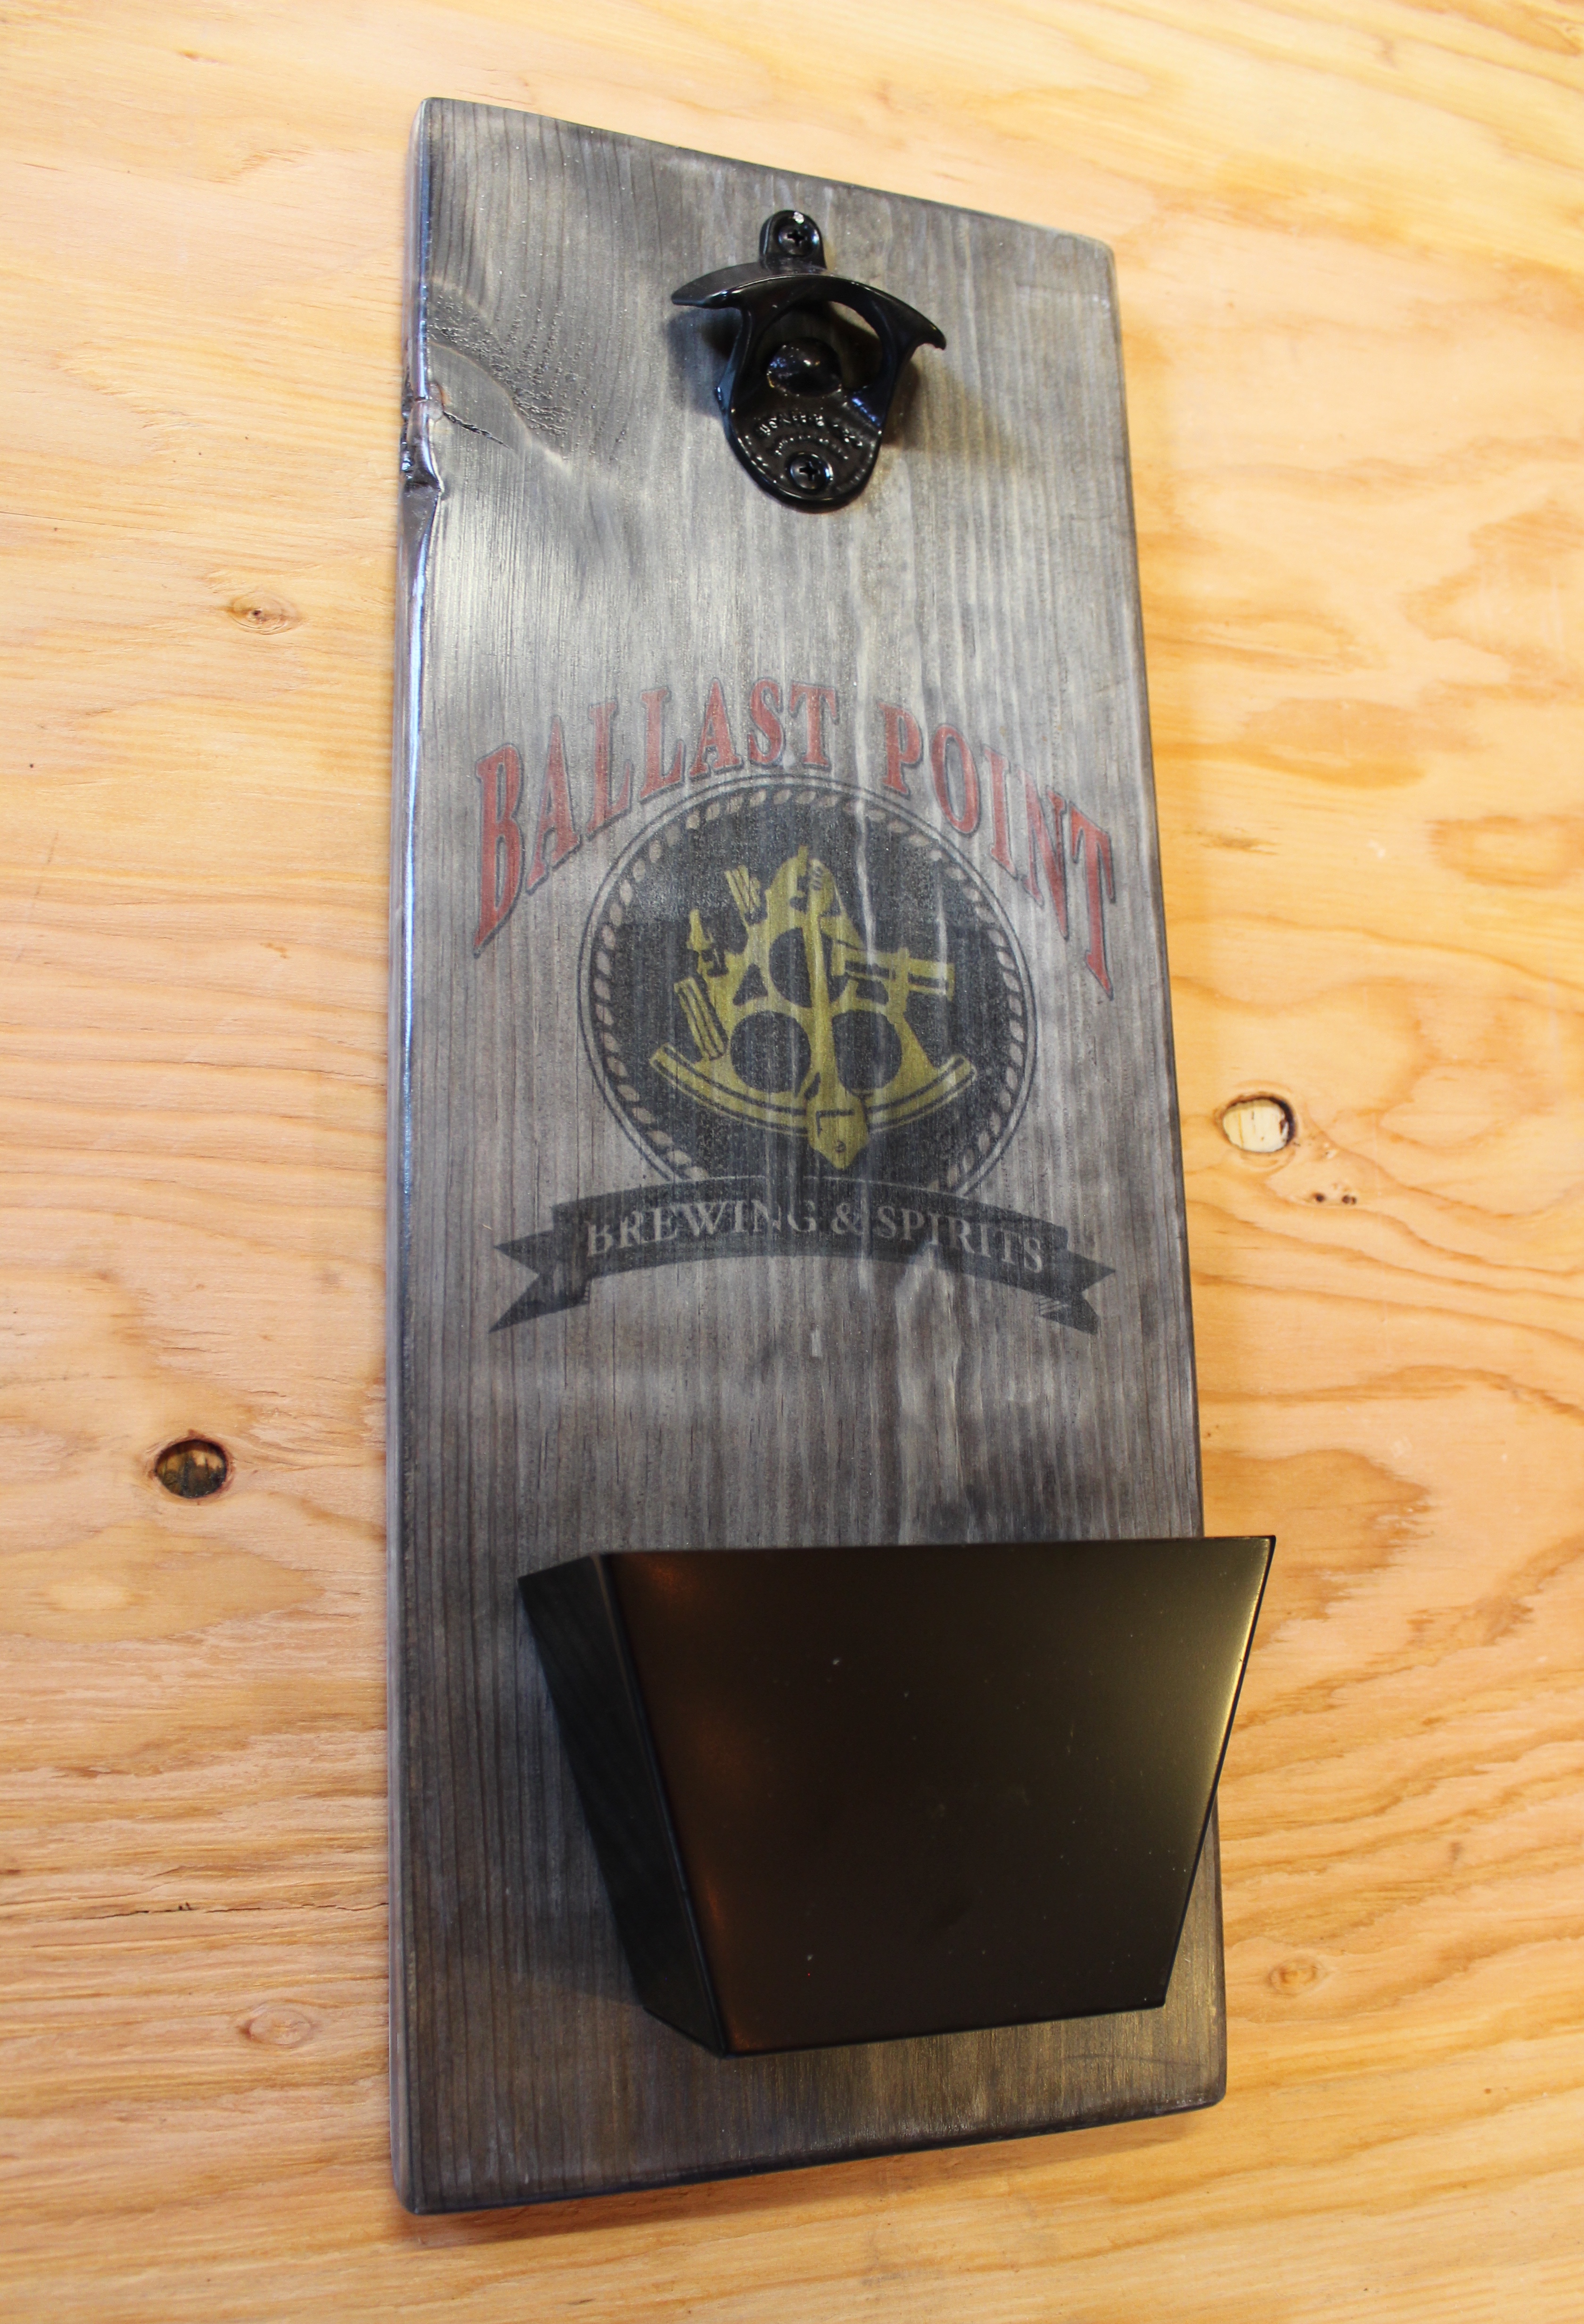
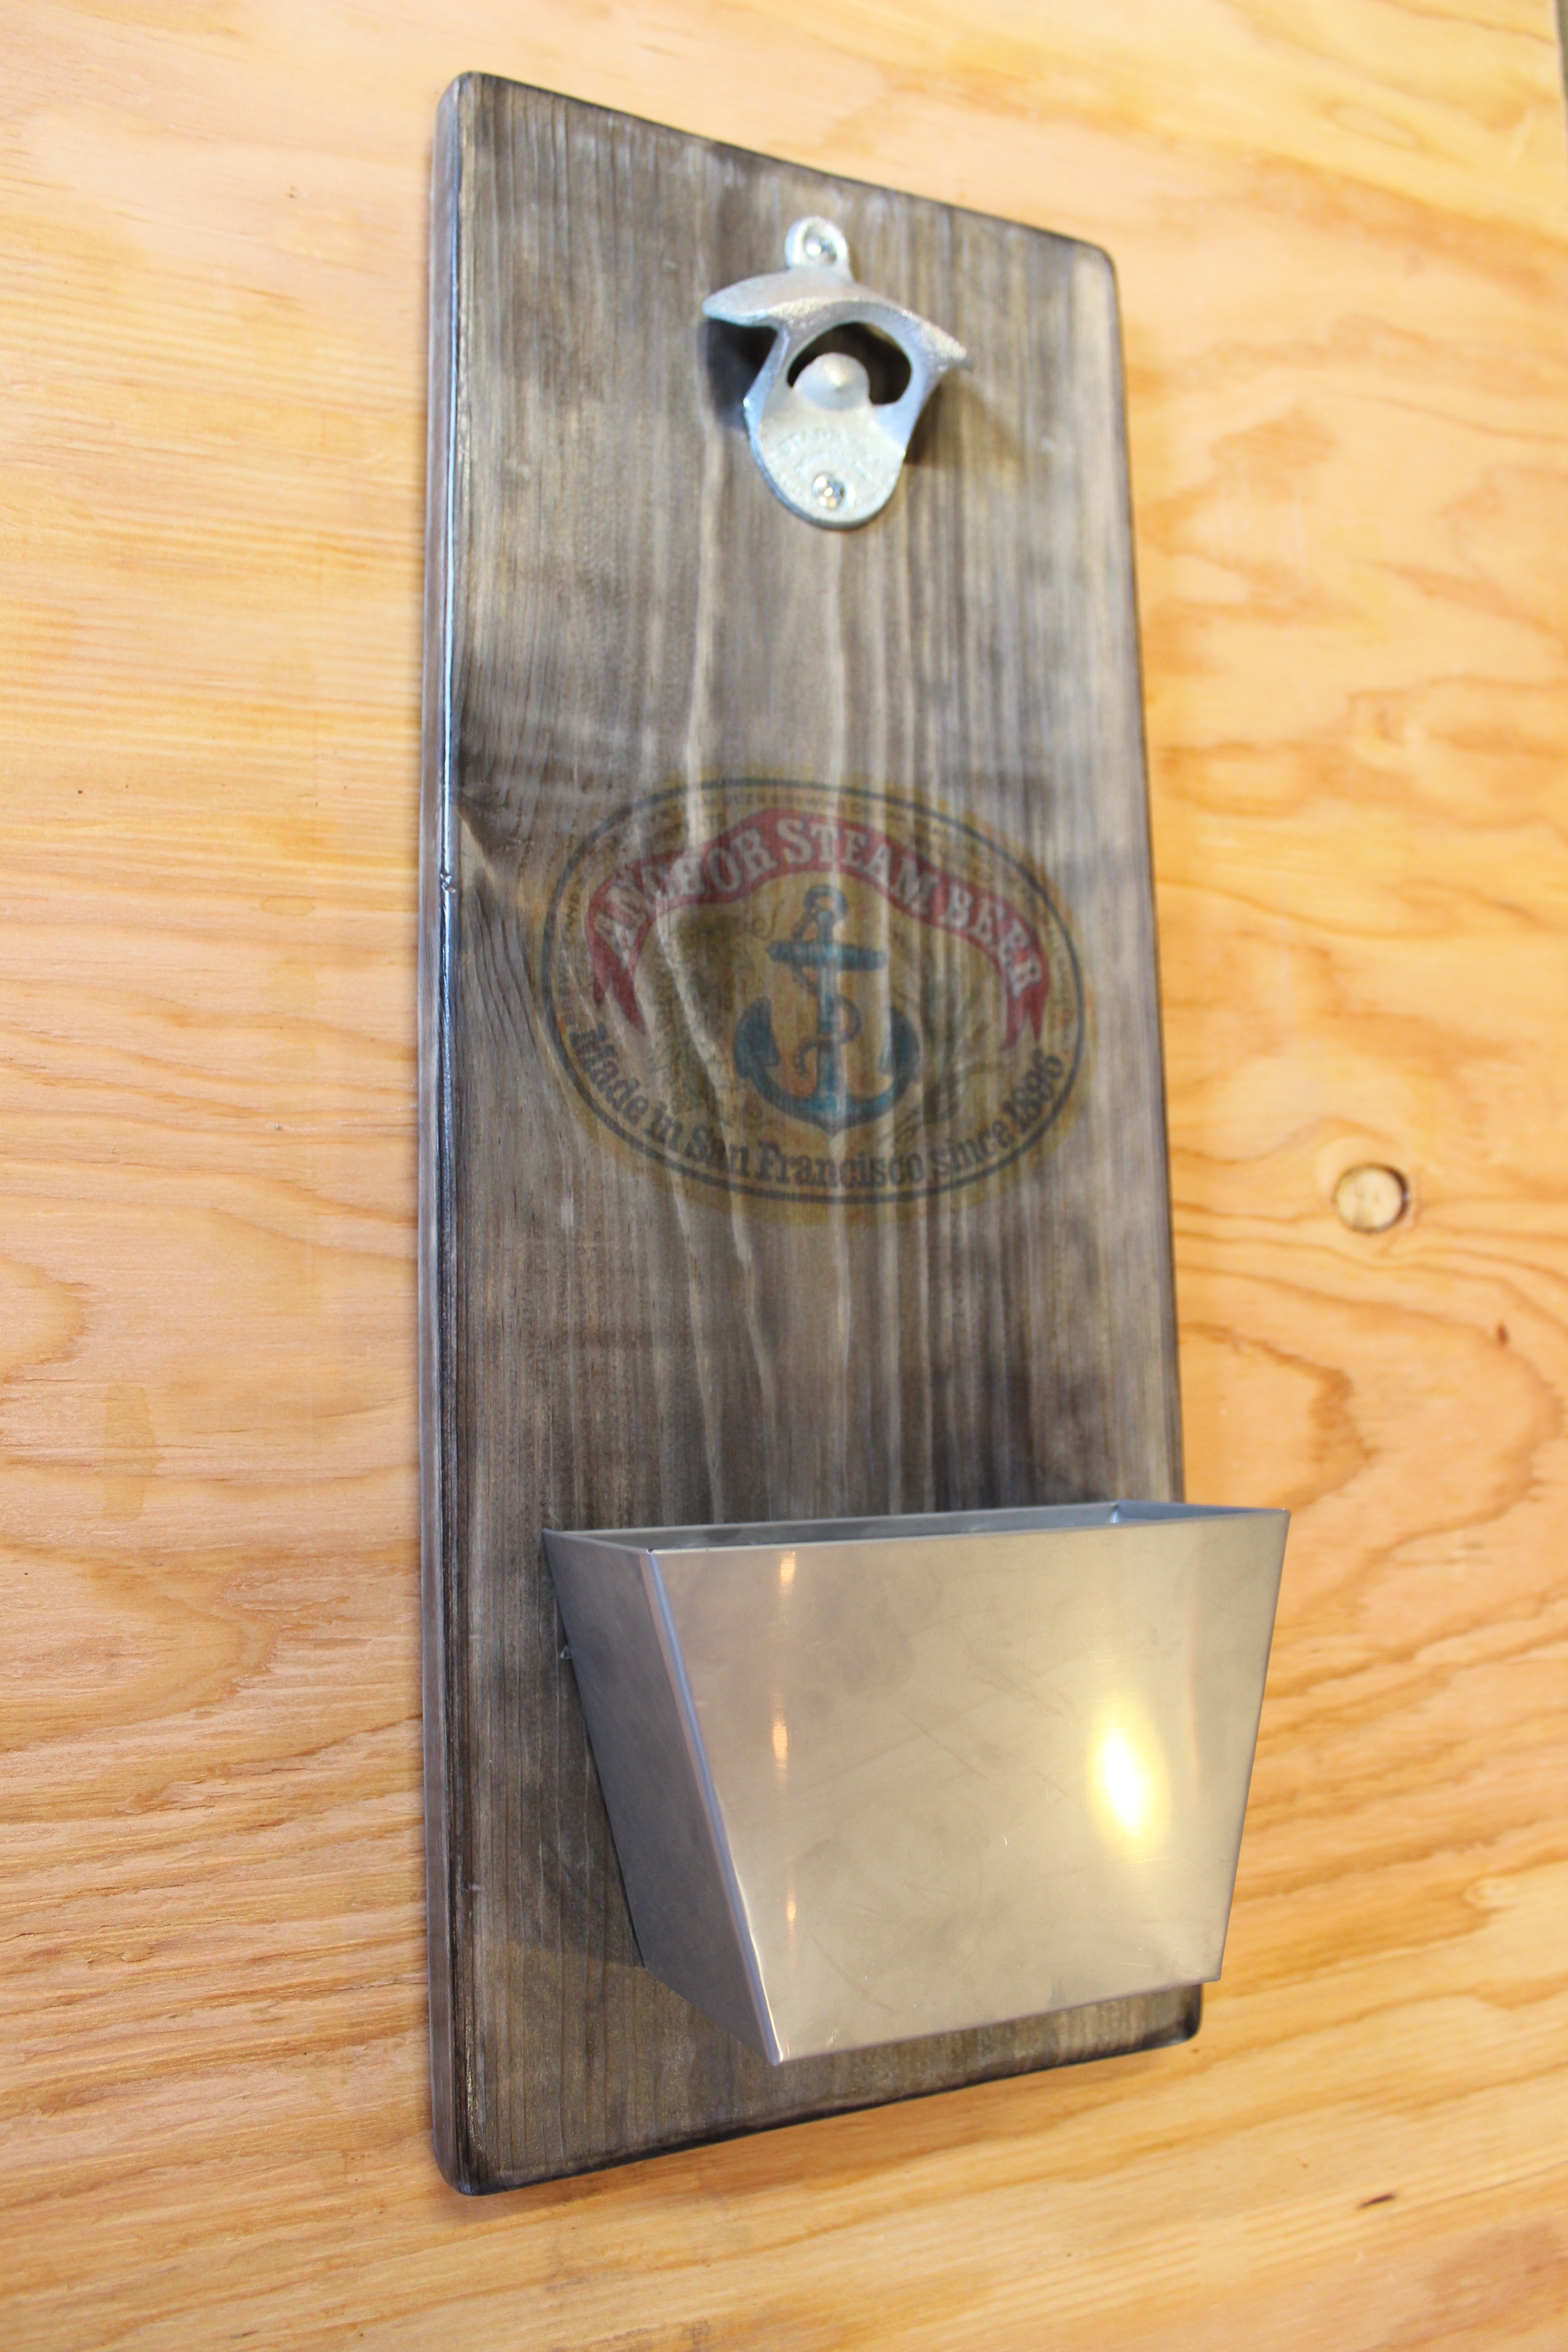
And here’s the finished product along with some others I made for buddies.
To find the logos, I used Google image search and downloaded the highest resolution image possible. Remember when printing the logo on the wax paper transfer, you’ll need to reverse the printing orientation so that the image actually prints backwards. This will ensure that the transferred image appears correctly.

Hey Jeremy,
Great video. I was wondering what size is the wood?
Thanks, Jeff
LikeLike
Hi Jeff. I used 1×8 (3/4″ by 7 1/4″) pine common board for this project. The board was cut to an 18″ length.
LikeLike
I was wondering how you are mounting It? Or what does the back look like. I’m not coming up with ways to have or mount securely.
LikeLike
I screwed two holes in the board: one behind the cap catcher and one just behind the bottle opener. With the cap catcher off and with one screw of the bottle opener removed, I screwed the board onto my garage wall. If you are attaching this to a relatively smooth surface, you might want to consider using heavy duty command strips from 3M. They do a pretty good job and won’t damage your wall.
LikeLike
Love this! How do you recommend attaching them to the wall?
LikeLike
You can either drill holes in the board and attach it to a wall with screws. My pre-drilled holes are located just behind the cap catcher and bottle opener. You might also want to consider Command Strips from 3M.
LikeLike
Awesome video I’m in the starting stages of this project on your catch can did you have to drill holes on the back so you could slide it over the screws or were you able to find the catch can predrilled that’s the only thing I’m trying to figure out is how I’m mounting the catch can so it’s even if I have to drill holes in the back thank you
LikeLike
Thanks for watching! The catch can I used already had holes drilled into it, so mounting was very easy. Here’s a link to the one I purchased on Amazon: https://www.amazon.com/gp/product/B007QXYBCM/ref=oh_aui_search_detailpage?ie=UTF8&psc=1
LikeLike
Sorry I was talking about the bottom basket where the bottle tops fall into after you open them
LikeLike
Never mind I didn’t see the bottom basket till now on the link thank you
LikeLike
Great video!
Just did this for the groomsmen in my wedding and there is a slight learning curve to doing the transfers. I had to tape the edges of the wax paper to printer paper so it would go through and not just curl up inside. I used a Kodak inkjet. If you tranfer to quick the ink will bleed and not be as detailed but if you wait to long not much ink will transfer, really had a problem with red colors. To get some transfers to look right I had to do it 2 or 3 times being very careful to line up the next transfer exactly over the previous ink. Pictures won’t attach. Good luck!
LikeLike
Hey Nick. Very cool gift idea. Shoot me over some photos on my Facebook page when you get a chance.
LikeLike
I never would have thought to use tea as a stain! How exactly did you do it?
LikeLike
Just make a very strong batch of tea and paint it on. You also need to apply that oxidation solution to get that dark look.
LikeLike
Great job! Saw your work table first and spotted this looking at your projects. Your same magnets from the tables may work with this. I remember when F&W beer was just being created. I worked at the Firestone’s winery when they made their first batch of beer. It was a non alcoholic and tasted pretty good. I do like their new stuff.
LikeLike
Very cool. Thanks for dropping by!
LikeLike